Eight steps to a perfect rugby coaching demonstration
1. Get set
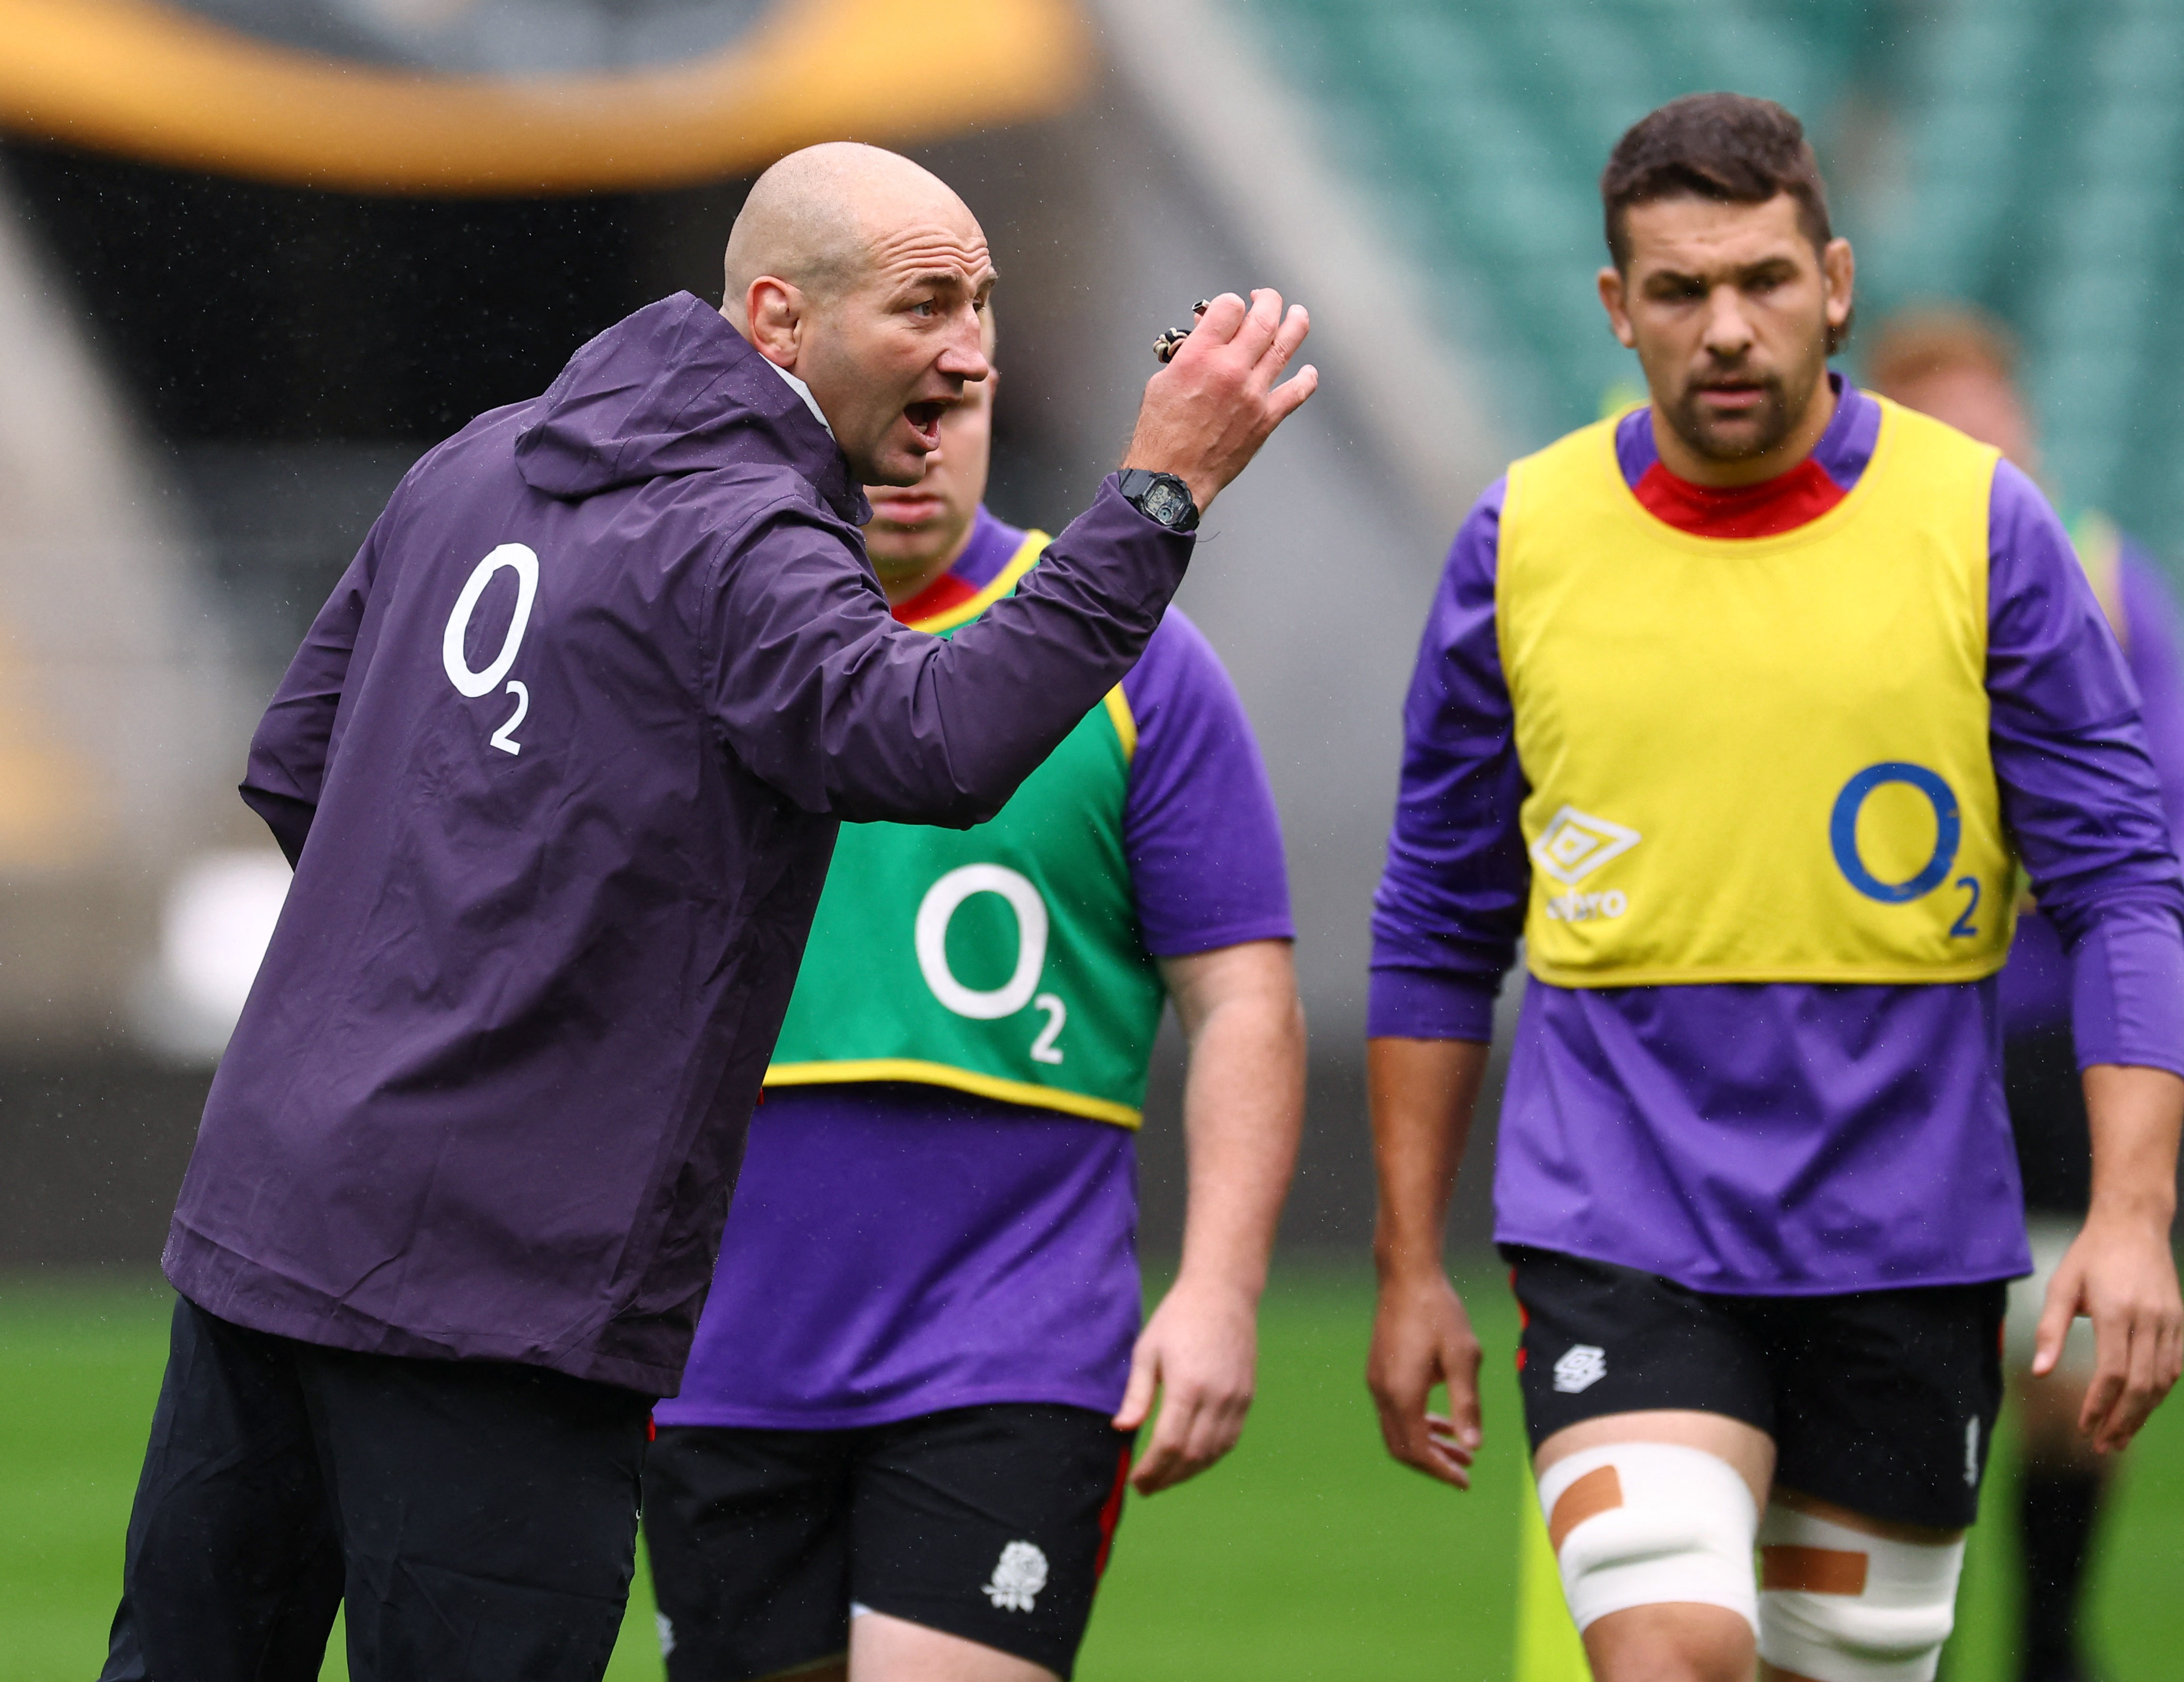
Before starting, make sure all your players are paying proper attention. Ensure they can all see clearly.
2. Set the scene
Establish exactly what you want to achieve from the demonstration. Tell the players what you are showing them and exactly what they should be looking at. Tell them clearly the criteria for success they should be aiming for.
3. Pitch it right
If it’s a new technique or skill, start right from the basics. Tell the players where it fits in the game and why they are learning it. If it’s a skill you have been working on for a while, you can focus on more advanced techniques.
Always highlight the basics first though, even if your players are good at them. Don’t overload your players with information, though. If it is a complex skill, break it down into steps and work through them over a period of time.
Players, generally, can only take in a maximum of three key factors at a time. Any more is a waste of time.
4. Know your stuff
You must know what you are demonstrating inside out. Make a note of the key factors you want to get across to your players so you don’t forget any of them.
Practise the demonstration beforehand so you are confident in your own ability and can talk through each part of it. If you are not confident, then use a senior player to demonstrate or use a suitable video clip.
A bad demonstration can cause a lot of problems because players pick up incorrect techniques.
5. Repeat the skill
Repeat the demonstration three times at least. Start with a near full-speed demonstration so players can appreciate what the finished product will look like.
Follow this with a slow motion demonstration and talk through each step as you go. Finish by isolating the key areas either in slow motion again or by using static freeze frames.
6. Check for understanding
Ask your players questions to check that they have understood the demonstration. You can even ask a couple of players to come out and demonstrate after, you so you can check they have understood. Allow time for questions before moving on.
7. Hands on
After your demonstration, make sure your players get an immediate opportunity to put the skill into action. Move round and watch them closely.
Keep reinforcing the key factors and correcting any faults you see. If necessary, pull the players back in and repeat the demonstration. At this point, highlight any common faults you have seen and refer players back to the key factors.
8. Assess the results
At the end of the session, gather your players in and check that they have remembered the key factors. Answer any questions they have regarding the session and tell them what the next steps will be in terms of developing the new skill.
One method of feedback would be to get the players to demonstrate the technique back to you.
Demonstrations and players
Be wary of how you interact with players in demonstrations. Ask the players their permission first. If you are likely to touch the players, tell them in advance what you are going to do.
Any contact demonstration should avoid your direct involvement with another player. You should demonstrate with one of the coaches if you can. The alternative is to walk the demonstration through with a couple of players acting as the "puppets".
This article originally appeared in Rugby Coach Weekly.
Thank you for reading
to enjoy 3 free articles,
our weekly newsletter, and a free coaching e-book
Or if you are already a subscriber, login for full access
Newsletter Sign Up
Coaches Testimonials

Gerald Kearney, Downtown Las Vegas Soccer Club

Paul Butler, Florida, USA

Rick Shields, Springboro, USA

Tony Green, Pierrefonds Titans, Quebec, Canada
Subscribe Today
Be a more effective, more successful rugby coach
In a recent survey 89% of subscribers said Rugby Coach Weekly makes them more confident, 91% said Rugby Coach Weekly makes them a more effective coach and 93% said Rugby Coach Weekly makes them more inspired.
Get Weekly Inspiration
All the latest techniques and approaches
Rugby Coach Weekly offers proven and easy to use rugby drills, coaching sessions, practice plans, small-sided games, warm-ups, training tips and advice.
We've been at the cutting edge of rugby coaching since we launched in 2005, creating resources for the grassroots youth coach, following best practice from around the world and insights from the professional game.

